
E Bike Freewheel Removal Tool, you already know how much fun and convenience it brings to your daily commute or weekend adventures. But like any machine, an e-bike needs regular care to keep performing at its best. One of the most important — yet often overlooked — maintenance tasks is servicing the rear drivetrain. That’s where the right e bike freewheel removal tool makes all the difference.
Whether you’re replacing a worn chain, upgrading sprockets, cleaning out grit, or performing hub motor repairs, having a dedicated e bike freewheel removal tool saves time, prevents damage, and keeps your ride safe and efficient. In this comprehensive guide, we’ll cover everything you need to know about these specialized tools, why they’re different from standard bike tools, how to choose the best one, and a complete step-by-step tutorial for using it like a pro.

Beecool Ebike Freewheel Removal Tool & Bicycle Freewheel Removal
What Is an E Bike Freewheel Removal Tool and Why Do You Need One?
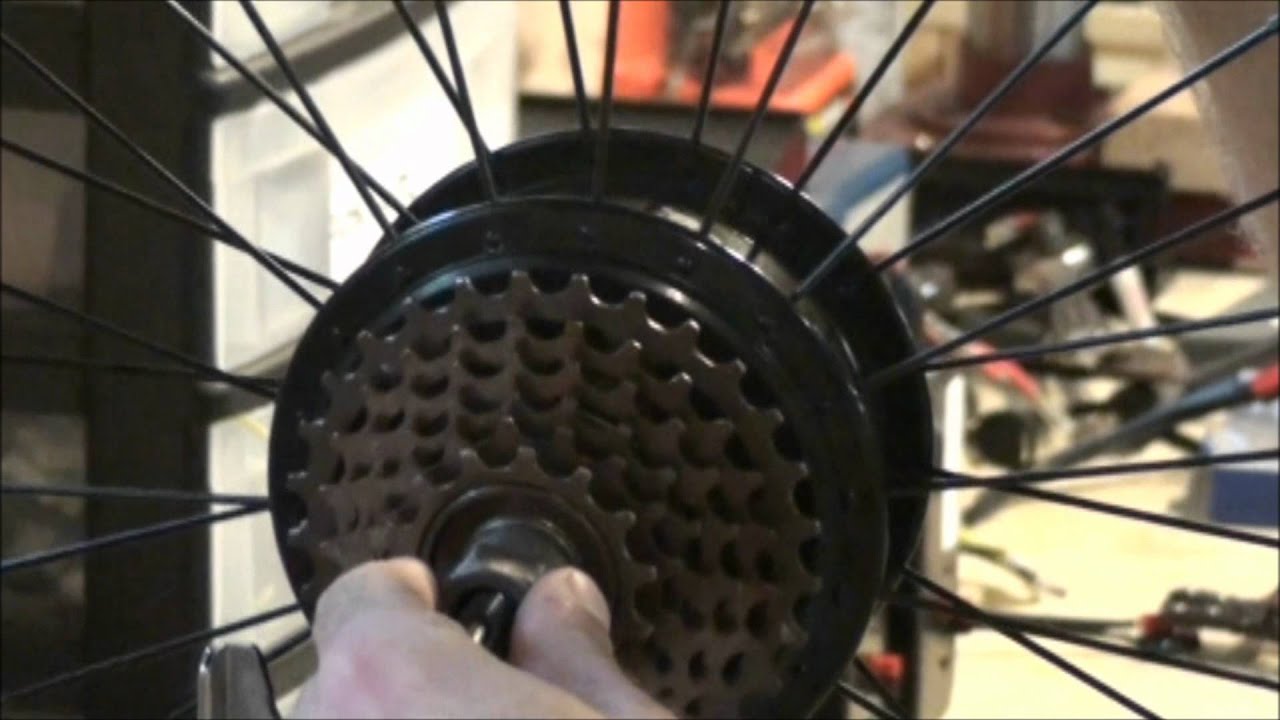
A freewheel is the ratcheting gear cluster on the rear wheel that allows your e-bike to coast without pedaling. On most hub-motor e-bikes (common in models from brands like Bafang-powered bikes, Rad Power, Lectric, and many fat-tire models), the freewheel threads directly onto the motor hub. Over time, it can become seized from dirt, rust, or high torque from the motor.
Standard bicycle freewheel removers often fail on e-bikes because the motor’s thick axle and wiring plug block them from seating properly. An e bike freewheel removal tool solves this with an extra-large center bore (usually 14mm or more) that clears the axle and cable while still engaging the 12-spline pattern inside the freewheel.

Beecool Ebike Freewheel Removal Tool & Bicycle Freewheel Removal
Key reasons to invest in one:
- High-torque e-bike motors make freewheels tighten more than on regular bikes.
- Motor wiring prevents standard tools from fitting.
- DIY maintenance saves hundreds in shop fees.
- Prevents damage to expensive hub motors or wheels.
Many riders discover they need one only after struggling with a seized freewheel — don’t wait until then!
Freewheel vs. Cassette: What’s the Difference on E-Bikes?
It’s easy to confuse the two systems, but they require completely different tools:
- Freewheel (most common on hub-motor e-bikes): The entire gear cluster threads onto the hub. Removal uses a splined freewheel tool turned counterclockwise.
- Cassette (more common on mid-drive e-bikes or high-end hub models): Sits on a freehub body and is held by a lockring. You’ll need a chain whip + cassette lockring tool instead.
If your e-bike has a threaded freewheel (you can usually see the threads when the wheel is off), an e bike freewheel removal tool is exactly what you need. Cassette systems are stronger for extreme torque but harder to service at home.

How to Silence a Noisy Hub Motor: Troubleshooting Electric Bike Motor Noise
How to Choose the Right E Bike Freewheel Removal Tool
Not all tools are created equal. Look for these features when shopping:
- Large center bore — At least 14mm to clear motor axles and wiring plugs.
- 12-spline engagement — Fits Shimano, DNP, SunRace, and most e-bike freewheels.
- High-strength steel — Heat-treated or upgraded alloys (like 51CrV4) for the torque e-bikes demand.
- Flats for wrench use — 23mm or 1-inch base that works with an adjustable wrench, socket, or bench vise.
- Compatibility — Check your motor brand (Bafang 750W is notorious for needing a special tool).
Top recommendations based on real-world use:
- Park Tool FR-1.3: Enlarged thru-hole version trusted by many e-bike owners.
- Specialized Bafang tools (like those from Area 13 or Monolith Tools): Designed specifically for 750W motors.
- Generic e-bike versions from EBIKEKIT or Beecool: Affordable and highly rated for clearing thick motor plugs.
E-BikeKit – E-BikeKit.com – Helpful Videos – Freewheel Removal
Budget tools under $10 often work for occasional use, but serious riders prefer hardened steel versions that won’t strip splines.
Complete Step-by-Step Guide: How to Use an E Bike Freewheel Removal Tool
Here’s the exact process most e-bike owners follow. Work in a clean, well-lit area and give yourself 30–45 minutes for your first time.
Tools you’ll need:
- Your e bike freewheel removal tool
- Adjustable wrench or 23mm/1-inch socket + ratchet
- Torque wrench (optional but recommended for reinstall)
- Chain whip (only if the freewheel spins freely)
- Gloves and safety glasses
- Penetrating oil (WD-40 or similar) for stubborn units
Step 1: Remove the rear wheel Flip the bike or use a stand. Disconnect the motor cable if needed, loosen axle nuts or quick-release, and slide the wheel out carefully.

Rear Wheel Removal & Reinstallation | Step-by-Step Guide for E-Bike Maintenance
Step 2: Prepare the freewheel Remove the axle nut or skewer completely. Spray penetrating oil around the freewheel threads and let it sit for 10–15 minutes if it’s been a while since the last service.

Freewheel removal – over sized motor plug – VoltBike
Step 3: Insert the removal tool Slide the e bike freewheel removal tool fully into the splines of the freewheel. Make sure it seats completely — you should feel it click into place.
Step 4: Apply leverage Secure the wheel (or clamp the tool in a vise if possible). Attach your wrench to the tool flats and turn counterclockwise with steady pressure. It may be very tight at first — use a long-handled wrench or cheater bar if needed. Once loose, unscrew by hand.

https://powerpedalse-bikes.com
Freewheel removal – over sized motor plug – VoltBike
Step 5: Clean and inspect Wipe everything down. Check the freewheel ratchet, hub threads, and motor axle for wear or damage.
Step 6: Reinstall Thread the freewheel on by hand until snug. Reinstall the wheel, reconnect cables, and take a short test ride — the pedaling motion will fully tighten it. No need to crank it down with the tool.
Pro tip: Mark the orientation of the freewheel before removal so you reinstall it correctly.
Maintenance Tips to Extend the Life of Your Freewheel and Tool
- Clean your drivetrain every 500–1000 miles.
- Apply fresh grease to threads during reassembly.
- Store your e bike freewheel removal tool in a dry place — it’s a one-time investment that lasts years.
- Check freewheel play every few months; excessive noise or skipping means it’s time for replacement.
Common Problems and Quick Fixes
- Tool won’t fit? Double-check bore size or try a deeper e-bike-specific version.
- Freewheel won’t budge? More penetrating oil + heat (hairdryer) + longer leverage.
- Stripped splines? Stop immediately and take it to a shop — forcing it can ruin the hub.
- Motor cable in the way? That’s exactly why you bought the right e bike freewheel removal tool!
Frequently Asked Questions
Q: Can I remove a freewheel without the special tool? Technically yes with improvised methods (hammer and punch), but it risks damaging expensive components. The right tool is safer and faster.
Q: Do all e-bikes need this tool? Most hub-motor models do. Mid-drive bikes with cassettes usually need a different lockring tool.
Q: How often should I remove the freewheel? Only when servicing the chain, upgrading gears, or cleaning deep inside the hub — usually once a year for regular riders.
Q: Is it the same as a BMX freewheel tool? Not always — e-bike versions have the larger center hole.
Final Thoughts: Make Maintenance Easy with the Right Tool
Owning the correct e bike freewheel removal tool turns a frustrating job into a simple 20-minute task. It keeps your electric bike running smoothly, extends component life, and gives you the freedom to handle repairs yourself.
Ready to upgrade your toolkit? Grab a quality e bike freewheel removal tool today and enjoy worry-free riding for miles to come. Your future self (and your e-bike) will thank you!
Have questions about your specific model? Drop them in the comments below — happy to help fellow e-bike enthusiasts keep rolling smoothly. Safe riding!