
If you’re an electric bike owner looking to get more out of your ride, an ebike upgrade can make a dramatic difference. Whether you want longer battery life, faster acceleration, better handling on rough terrain, or simply a more comfortable experience, targeted upgrades turn a standard e-bike into a personalized powerhouse. This comprehensive guide covers the most effective upgrades, step-by-step advice, costs, safety tips, and more to help you decide what’s worth investing in.

https://powerpedalse-bikes.com
Rover 1.0 vs. Rover 2.0: An Upgrade Comparison – What’s New …
Many riders start with a basic model and gradually enhance it. Upgrades can add miles to your range, improve hill-climbing power, or make off-road trails more enjoyable. The key is compatibility—always check your bike’s voltage, frame size, and motor type before buying parts.
Why Consider an Ebike Upgrade?
E-bikes evolve quickly, and even a 2-3 year old model can feel dated compared to newer ones. Common reasons for upgrading include:
- Extending range for longer commutes or adventures
- Increasing speed and torque for hills or heavier loads
- Improving comfort on bumpy roads or trails
- Enhancing safety with better brakes and visibility
- Saving money versus buying a new bike
A well-planned ebike upgrade often costs far less than a full replacement while delivering 50-100% performance gains.
Step 1: Assess Your Current E-Bike
Before spending money, evaluate your setup:
- Battery specs (voltage and Ah capacity)
- Motor type (hub vs. mid-drive, wattage)
- Brakes (mechanical vs. hydraulic)
- Tires and wheels (size, tread)
- Suspension (none, front only, full)
- Controller and display features
Take photos of your components and note serial numbers. This prevents buying incompatible parts.
Top Ebike Upgrade Priorities
Here are the upgrades that deliver the biggest impact, ranked by value.
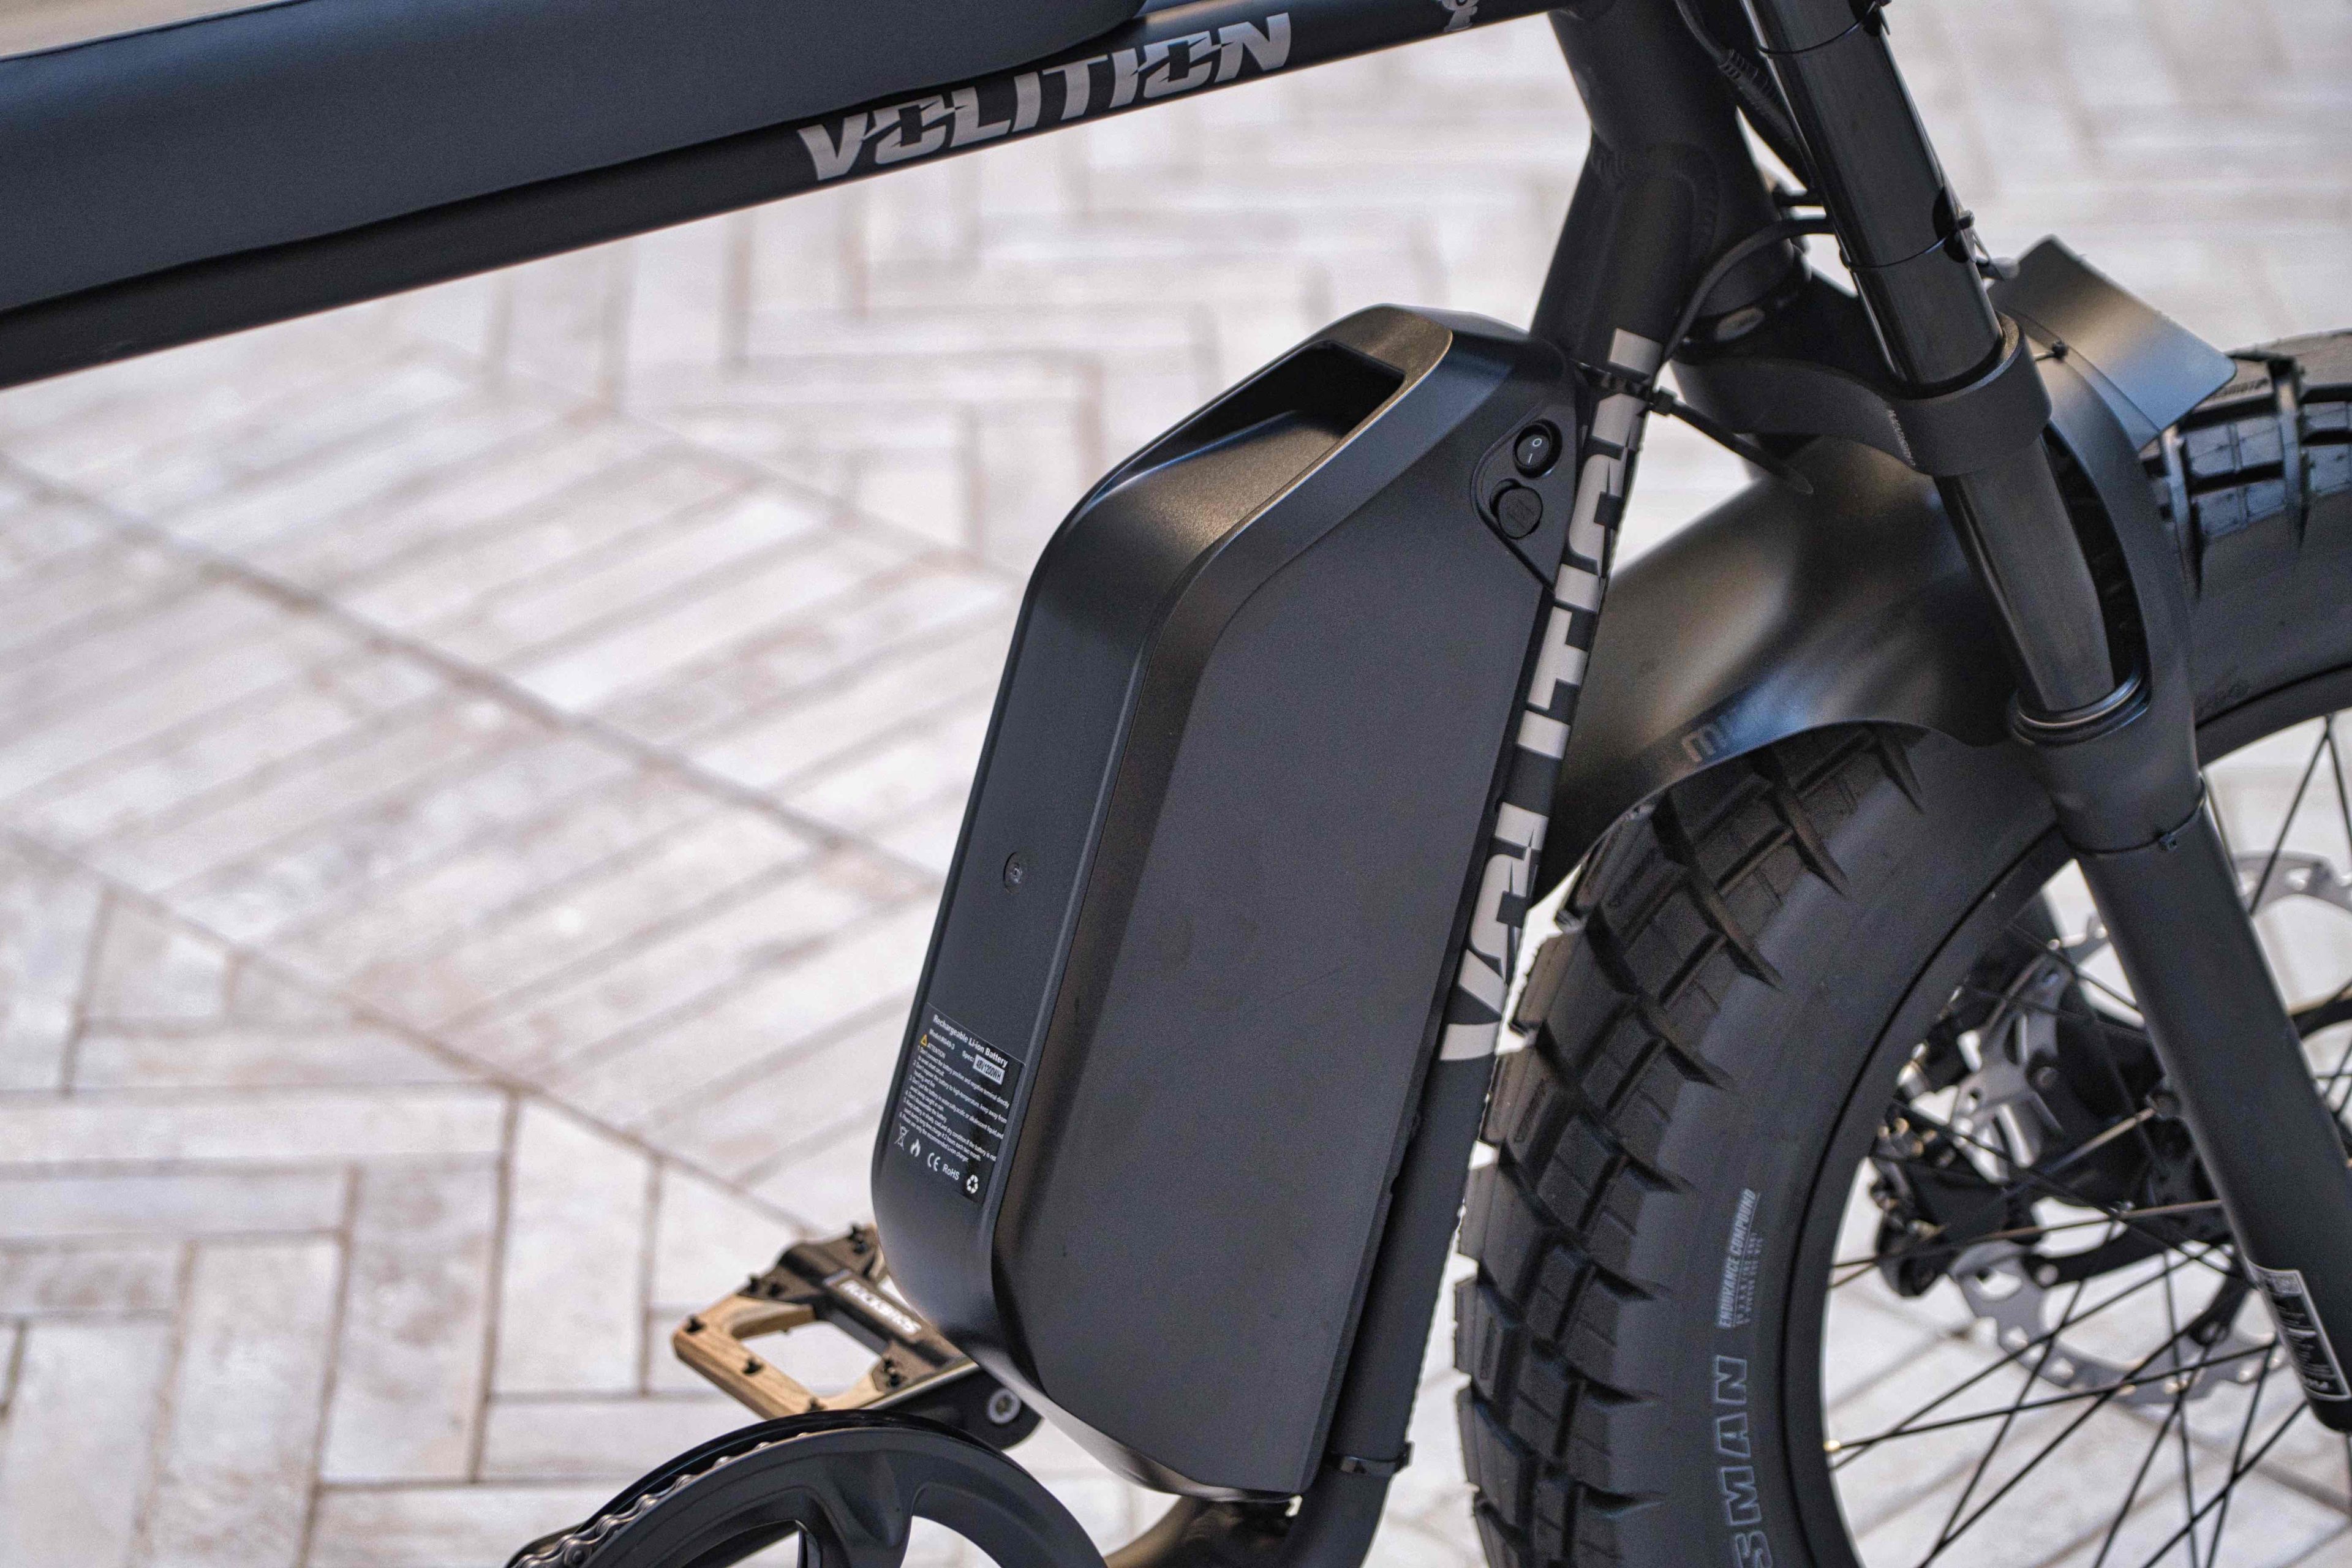
1. Battery Upgrade: The Biggest Range and Power Boost
The battery is often the first bottleneck. Upgrading to a higher-capacity or higher-voltage pack increases range, speed, and torque.
- Switch from 36V to 48V for noticeable power gains
- Increase Ah (amp-hours) from 10-15Ah to 20Ah+ for double the range
- Lithium-ion packs are lighter and last longer than older types
Pros: More miles per charge, faster acceleration Cons: Higher cost, potential need for controller/motor compatibility
Expect to pay $400–$900 for a quality upgrade.

Always match connectors and use the same or higher voltage controller to avoid damage.
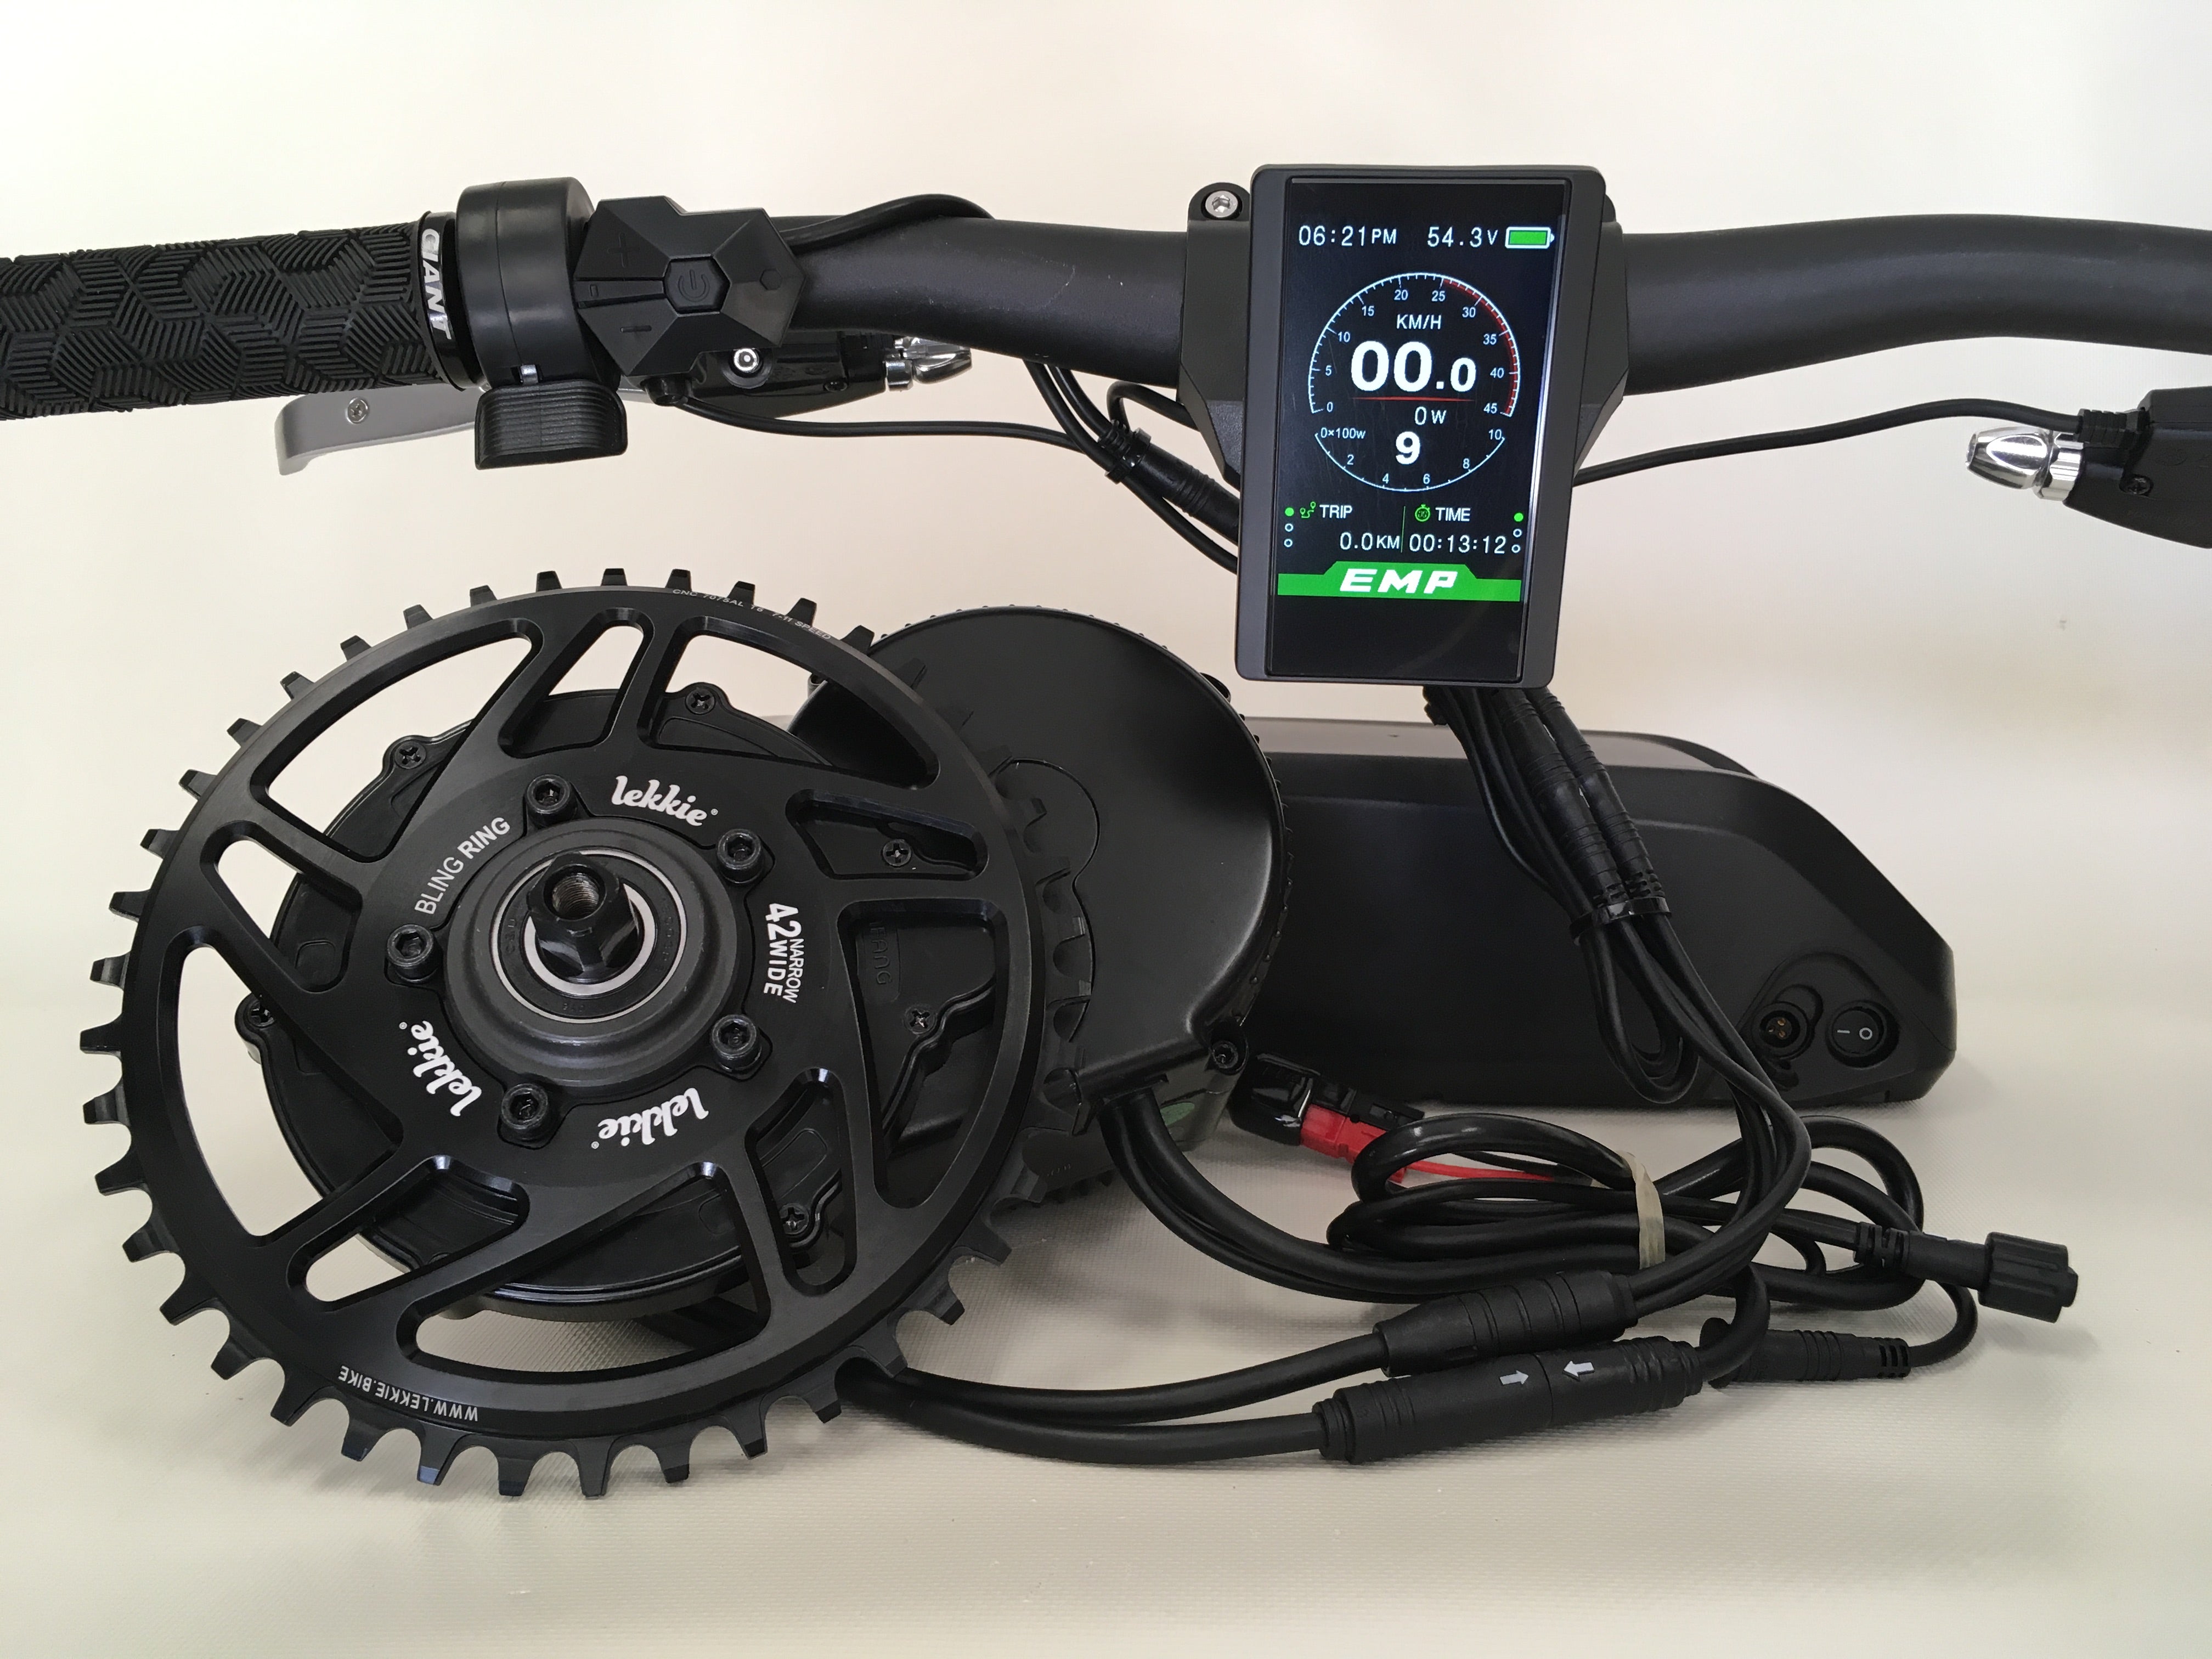
2. Motor and Controller Upgrade: More Power and Efficiency
If your motor struggles on hills, consider a higher-wattage or mid-drive swap.
- Hub motors are simple but mid-drives offer better torque and gear use
- Add a second motor for dual-drive setups (extreme power)
- Upgrade the controller for better throttle response and efficiency
Popular options include 750W–5000W kits, depending on local laws.

Mid-drive conversions suit trail riders best, while hub upgrades work for commuting.
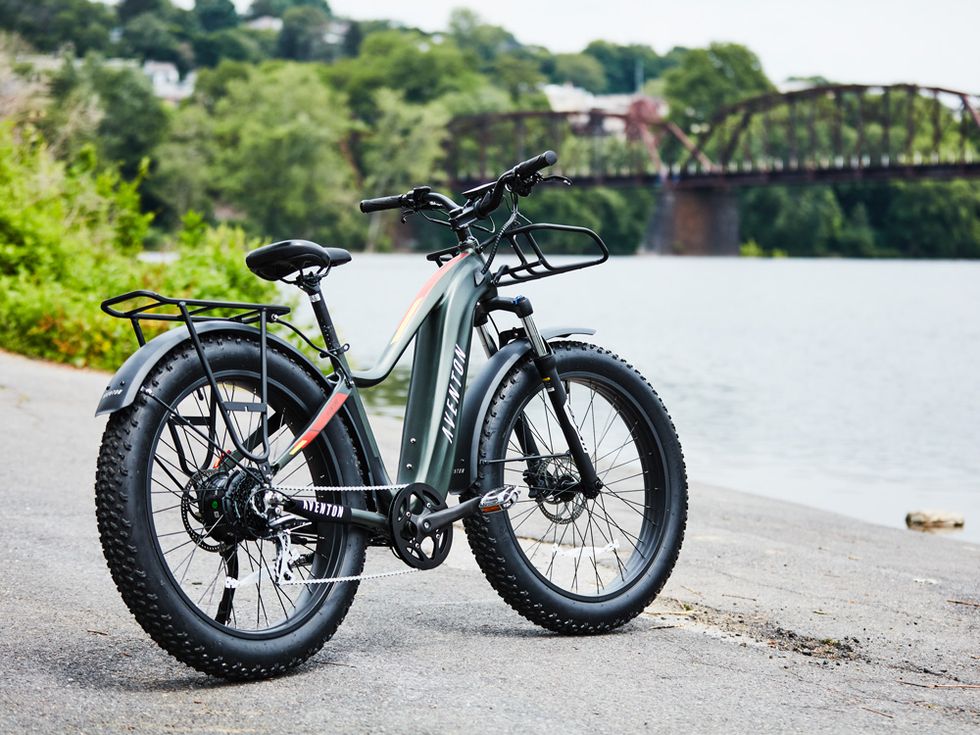
3. Tires and Wheels: Better Traction and Durability
Stock tires often lack grip on wet or loose surfaces.
- Switch to fat tires (4″+) for sand, snow, or trails
- Choose puncture-resistant options with good tread
This upgrade improves stability and reduces flats.

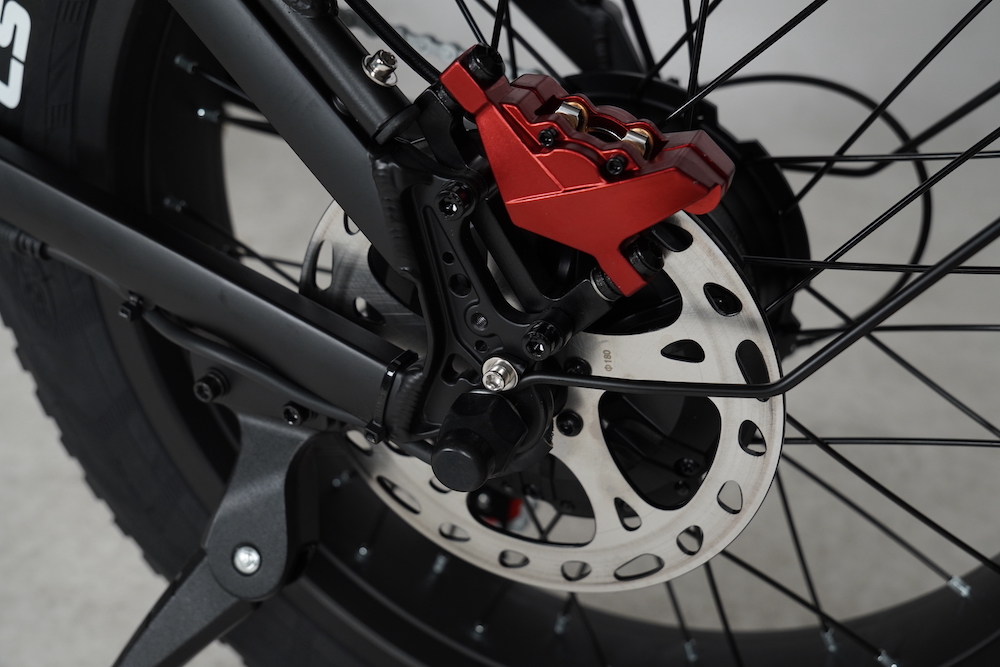
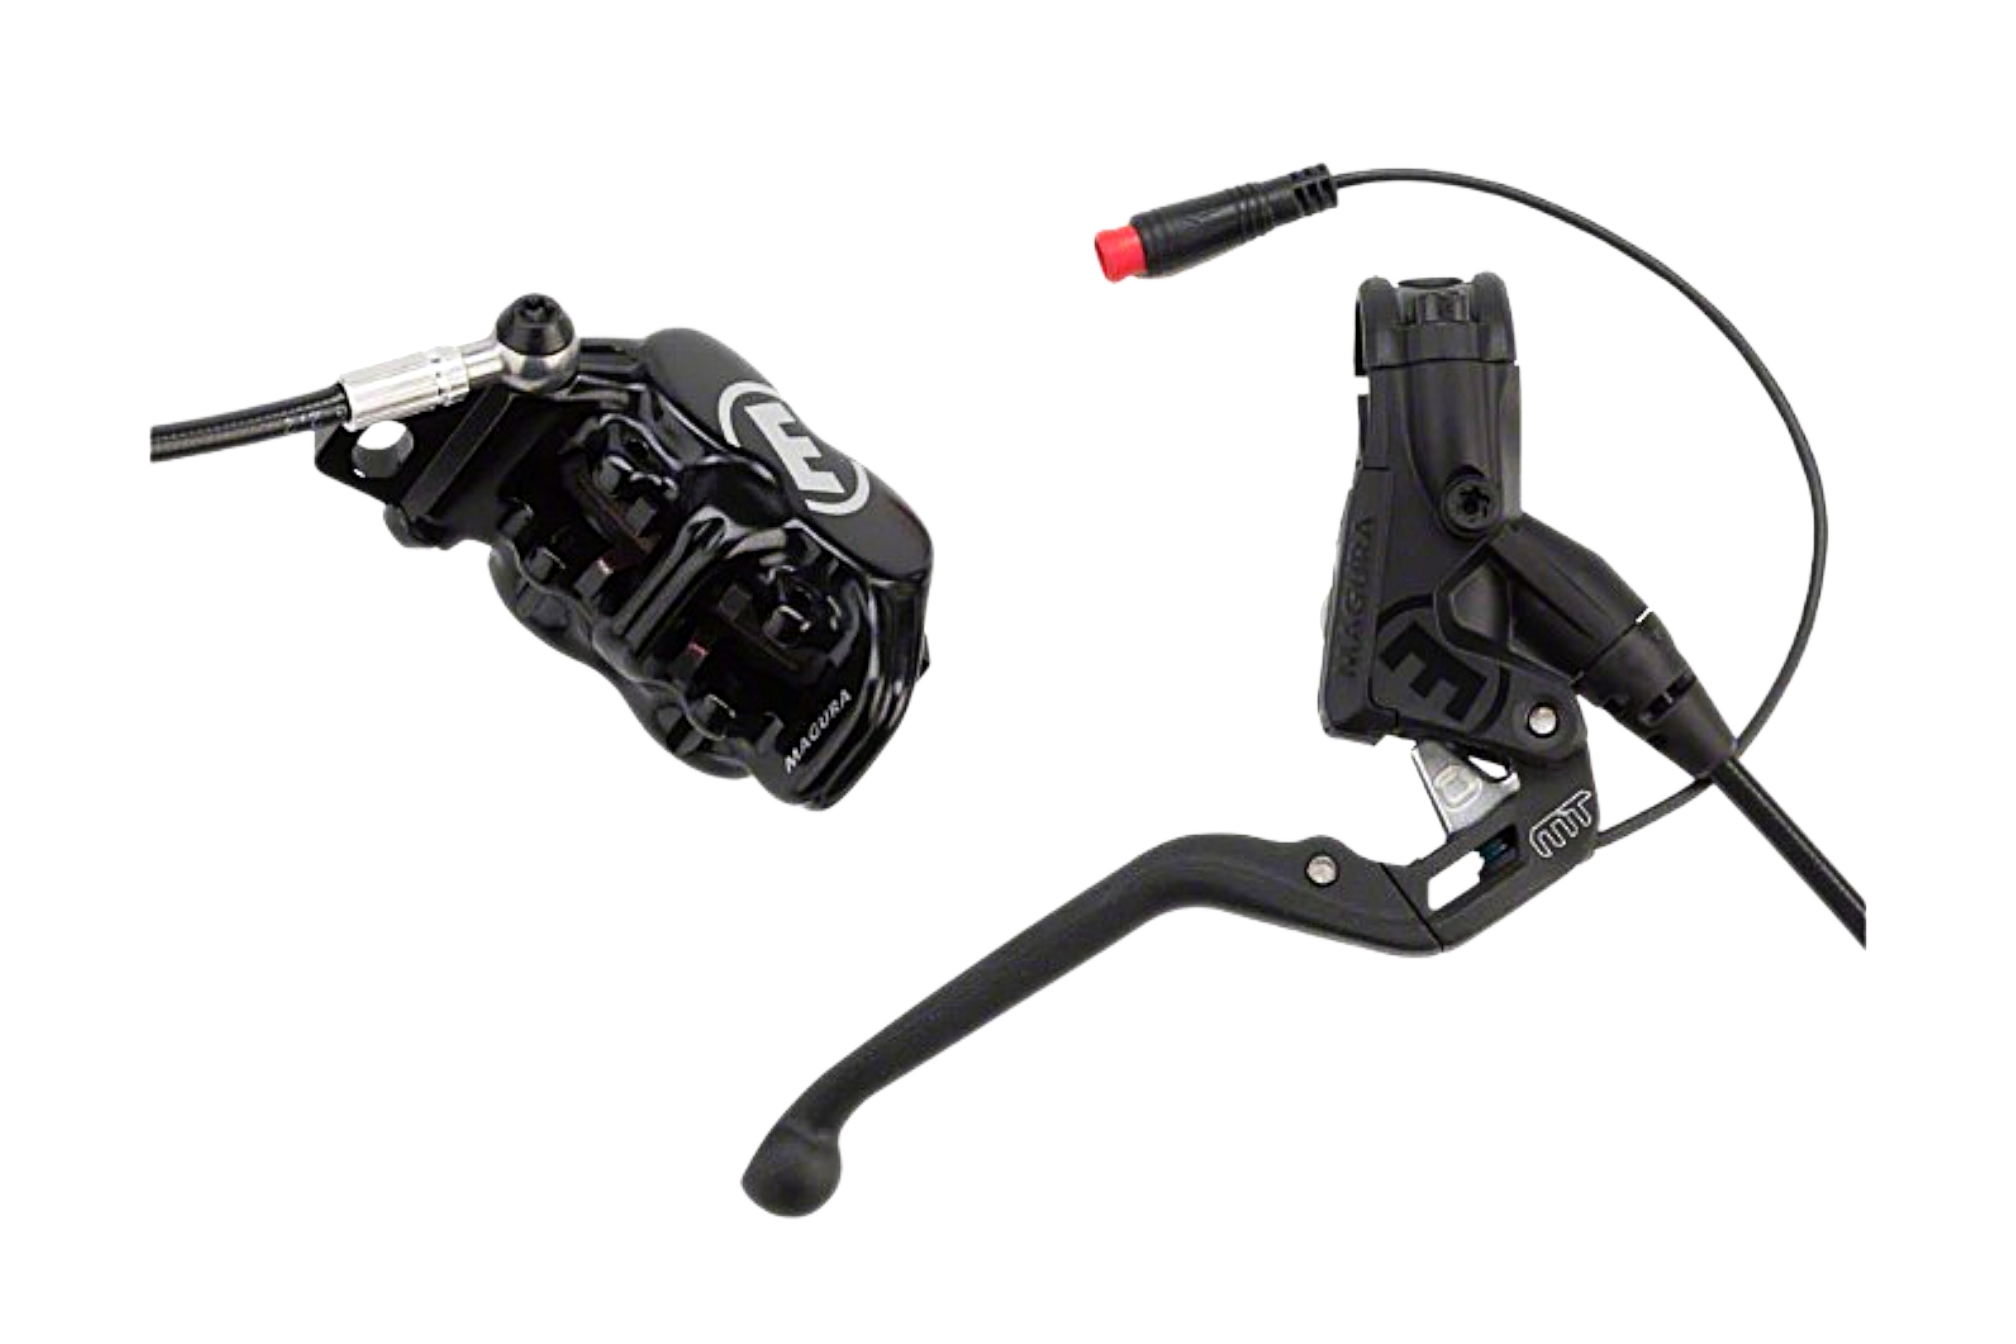
4. Brakes: Essential for Safety at Higher Speeds
Upgrading to hydraulic disc brakes is a must if you add power.
- Better modulation and stopping power than mechanical brakes
- Ideal for wet conditions or heavy loads
5. Suspension and Comfort Upgrades
Add front suspension forks or upgrade seats/handles for rough rides.
- Full-suspension frames for trails
- Adjustable forks for different terrains


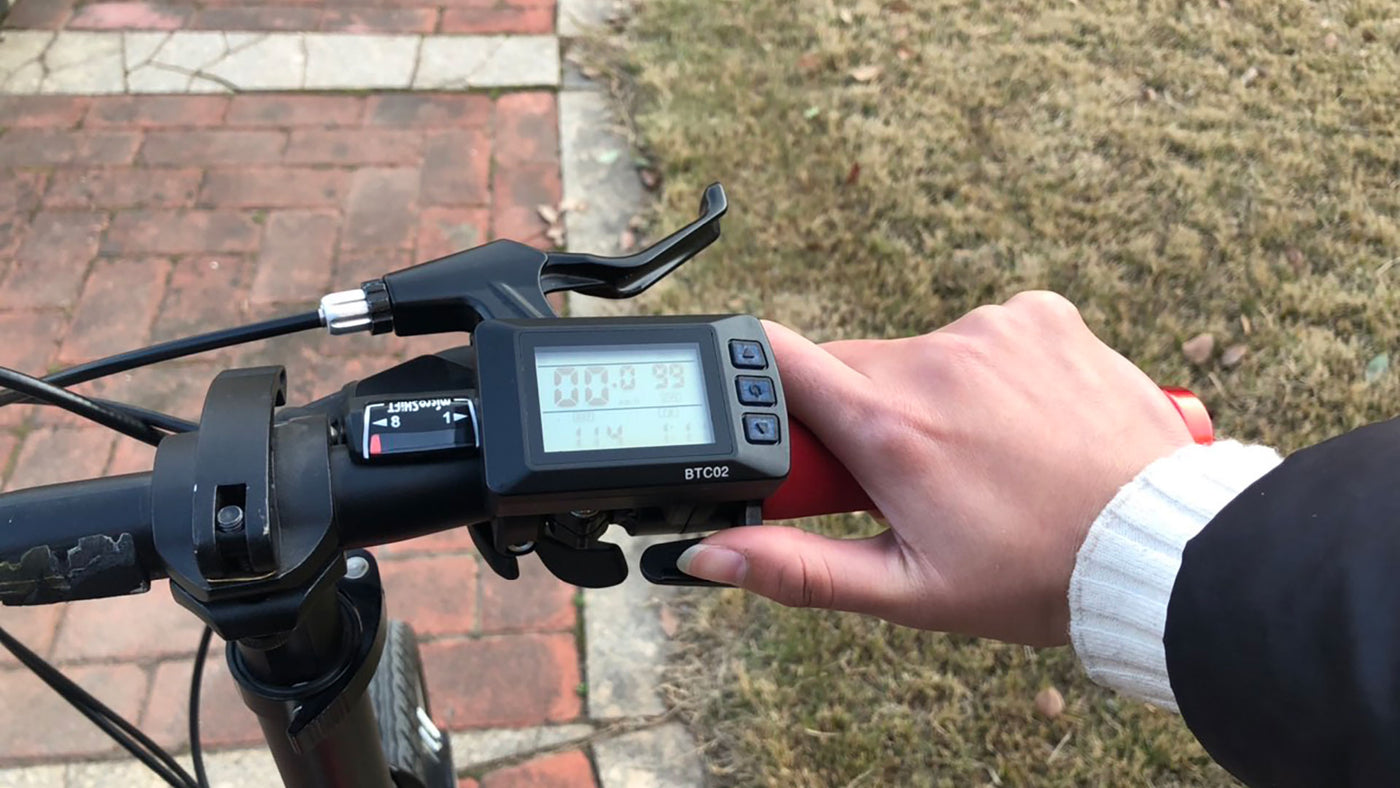
6. Display, Throttle, and Controls
Upgrade to a clearer LCD/OLED display and add a throttle if your bike is pedal-assist only.
- Track speed, battery, and trip data easily
- Thumb or twist throttles for effortless cruising

7. Other Accessories That Make a Difference
- Lights (high-lumen front/rear)
- Fenders and racks for commuting
- Phone mounts and locks
These small additions improve daily usability.
DIY vs. Professional Installation
Many upgrades like batteries or tires are DIY-friendly with basic tools. Motors and controllers often require wiring knowledge—consider professional help to avoid voiding warranties or causing damage.
Safety and Legal Tips
- Check local e-bike laws (speed/power limits)
- Wear helmets and use lights
- Test upgrades gradually
- Use quality parts from reputable brands
Cost Breakdown
- Battery: $400–$900
- Motor/Controller: $300–$1500+
- Brakes: $150–$400
- Tires: $100–$300
- Suspension: $200–$600
- Total for major upgrades: $1000–$3000
Final Thoughts
An ebike upgrade is one of the smartest ways to refresh your ride without buying new. Start with the battery or brakes for immediate gains, then add power or comfort as needed. Your upgraded e-bike will feel like a completely different machine—faster, farther, and more fun.

Ready to start? Research compatible parts, read reviews, and enjoy the transformation!